Freezing Basil for the winter months!

Freezing Basil for the winter months!

How to FREEZE BASIL for use during the winter months!

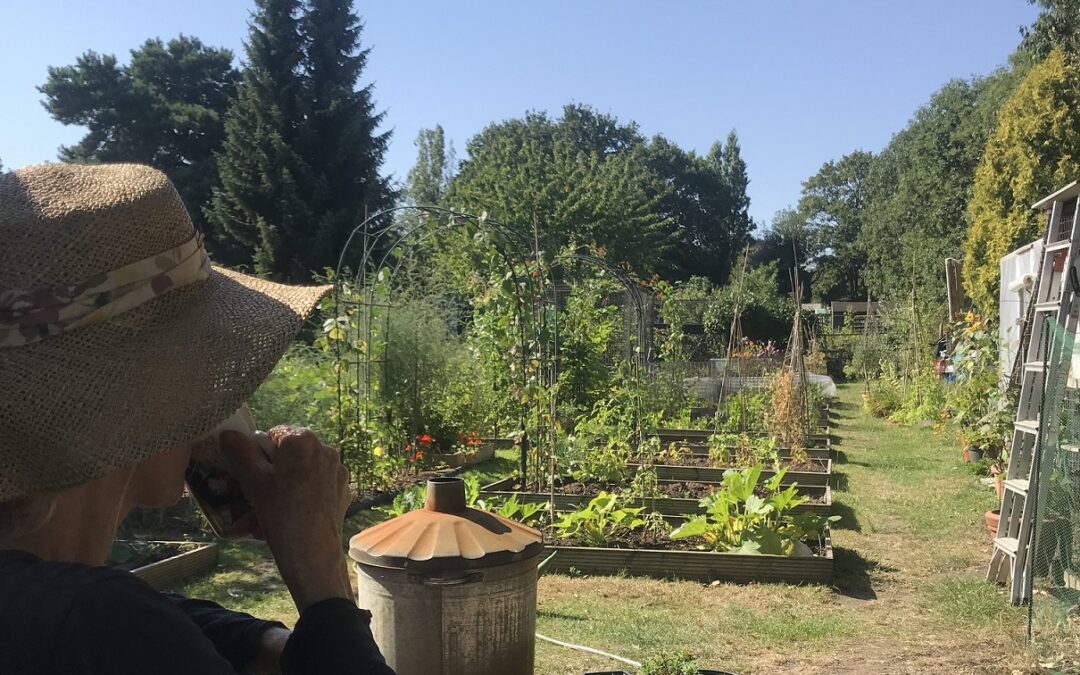
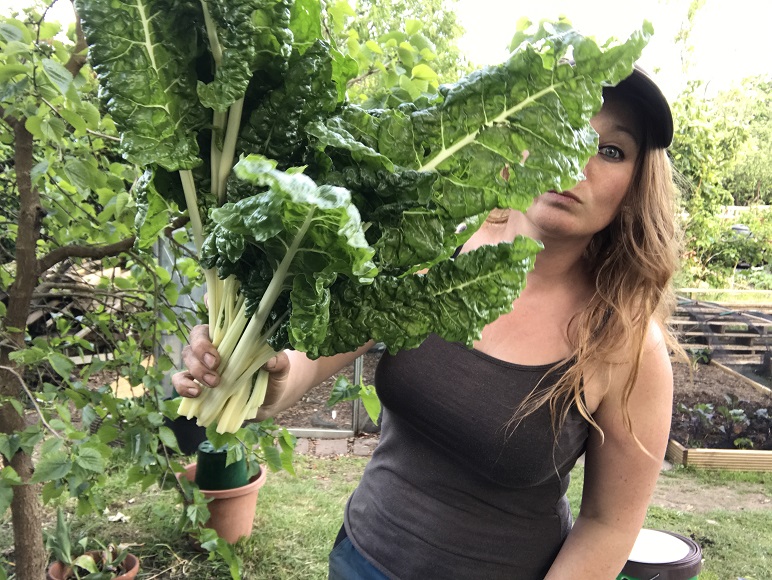
Over the years i’ve really struggled with basil but during the summer of 2019, something seemed to click and suddenly it wasn’t difficult any more. In fact this year (2020) we have been inundated with the stuff. Giving it away in huge bunches

One of the things i’ve learned is to not constantly pick it as and when its needed but rather do a large cut back of the whole plant to encourage a big spurt of regrowth ready for the next picking! But this does leave you (or at least me) with more basil than i can really handle each time.

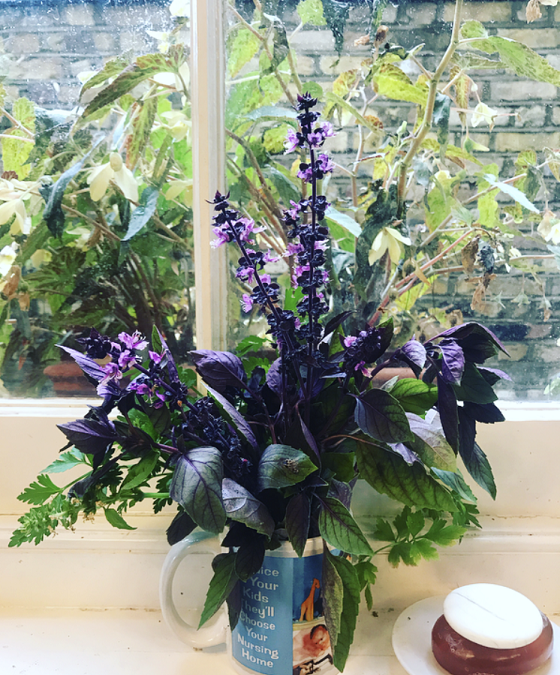
Keeping Basil Fresh – 

I’ve found the best method by far for keeping basil fresh for use in bunches is to treat it like a bunch of flowers and stand the stalks in a glass of water on the kitchen window sill. Change the water every few days and the basil will be good to use for a week or even two!

Freezing Basil

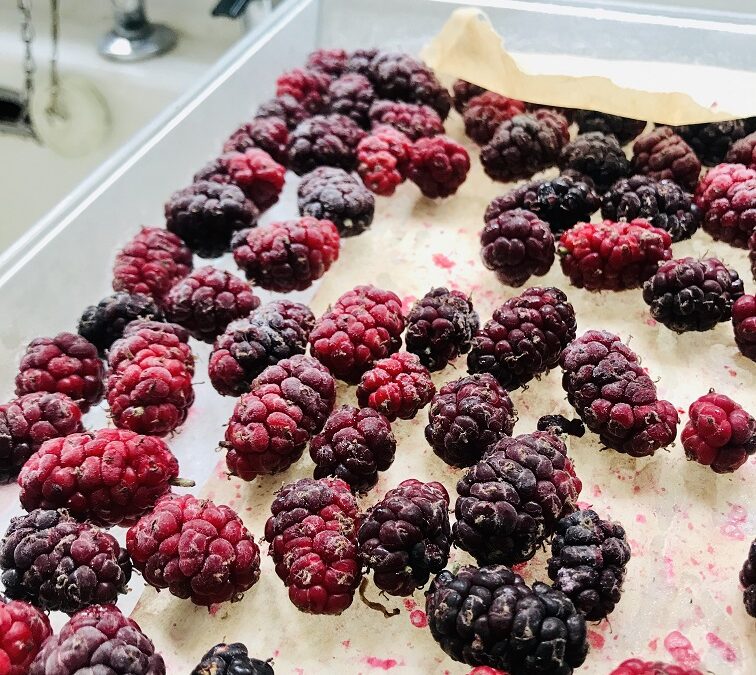
So as you may have noticed, basil goes brown at the drop of a hat the moment you damage the leaves!

And it turns to brown crisps if you try to freeze it as is. So! I’ve been blitzing it up in the blender with enough olive oil to get it moving and then freezing it in ice cube trays.

Other Herbs this works with:

This tequnique works with all the soft herbs. Parsley, Tarragon, Chervill, Dill..etc

Not with things like Rosemary, Bay and Thyme but that’s not much of a problem because you can pick them all winter. This is mainly for those softer herbs than you really only the get the plentiful growth in the summer!

Hope that was useful!

Jx


This is absolutely perfect because if you’re quick, it keeps its vibrant green colour and then are individually portioned to drop into soups, stews and sauces throughout the winter!

You could use this method for pesto too but (and i know this is a tad controversial) i don’t like pesto! So i just whizz up the leaves with a couple of cloves of garlic and olive oil until its smooth and them wack it straight into the ice trays. Once they are frozen hard, i just pop them out of the moulds and bag them up ready!

What is Green Manure – and why we should all be growing it!

What is Green Manure – and why we should all be growing it!

WHAT IS GREEN MANURE and why we should all be using it!

Although the majority of our city is on famous London Clay on our allotment, our soil is so sandy we may as well be trying to grow in a child’s sand pit! This has lead to a constant battle to increase the organic matter in our patch which up until this year has manly been via the working in of horse manure but we are now turning to Green Manure!

This spring we tried to use the manure as more of a ‘mulch’, as we are transitioning to a more no-dig approach in an effort to improve the whole structure of our soil and ended up discovering the joy of Aminopyralid contamination… this is a problem I will delve into in much greater detail in another post but the end result is that we are determined to try to improve our soils in in-house ways that doesn’t mean importing masses of foreign muck (literally speaking). So along with our own compost we are turning to leaf mold, comfrey and green manure.

Leaf mold is fairly self explanatory but What is Green Manure?

‘Green Manure’ is a broad term used to describe a group of plants that are specifically grown for their effect on the soils they are planted in and benefits for subsequent crops. Some make nutrients more available in the soil, some take the nitrogen from the air and fix it in the soil, they can improve soil structure by adding bulk to poor thin soils, or loosening up heavy clay. They also act as a protective layer for bare soils between crops, supressing weeds, reducing errosion from wind and rain and for almost any situation, there is a green manure plant out there that can help!

Instead of listing 20 different varieties you can grow and what they are each good for, (for that info i will link to a page on sowseeds.co.uk which is the most comprehensive list i’ve found HERE), I’m going to write a bit about why i think we should be using them more.

Creating a closed, sustainable system.

The goal at Plot 37 is to be able to produce everything we need to carry on producing on the plot. By that i mean reducing and eventually one day, almost completely avoiding the need to import nutrients and matter onto our site. The four main reasons we are aiming to create a closed loop system:


1. For peace of mind… 

We all garden for many reasons but one of the most common reasons is a real desire to know whats in our food!

Like i mentioned above, we found that we had Aminopyralid contamination in some of the organic horse manure we brought onto our plot last year. It is a herbicide specifically used to kill off ‘broad leafed’ plants but to leave grasses untouched and for that reason is used in fields where wheat, rye, oats…etc are being grown to eliminate competition from weeds. Although the main ‘crop’ is not killed off by the poison, it is held within that plants tissues and is passed on up the food chain. To us yes, but also to horses/cows/chickens as both food and bedding in hay, straw and feed. The chemical isn’t broken down by its transit through the guts of animals and comes out relatively unscathed the other end. All ready to be bagged up and put on our unsuspecting vegetable beds of which the majority are? You guessed it! Effected the same way the weeds in the original field were because most of what we grow in our allotments barring Sweetcorn and Aliums are broad leafed plants! Fabulous!

The Aminopyralid does eventually break down in the soil, by contact with soil borne bacteria but that process is slowed down considerably if you are using the manure as a mulch in an effort to reduce soil disruption rather than digging it right in. 

This is a huge problem. On our gardens yes, but the more you think about it the worse it gets… anyway! i will link to more info if you would like it at the bottom of this post!

The result of that encounter has lead me to reconsider the wisdom of being so protective of the land we are cultivating only to bring in material that we can be in no way sure about! 

2. Financial…

This has been brought into sharper focus since the pandemic and bringing in enough manure/compost/feed to cover our allotments needs each year really adds up. Growing your own ‘manure’ is just the cost of the seed. You can even save the seed for resowing the following year from some varieties. Its very easy to find yourself throwing money at a plot even if you’re not buying chemicals with all the different protections and cloches and bits and bobs.

Reuse, recycle and work with nature not against it!

3. Sustainability…

For a system to be sustainable, which is our aim on our little patch, you can’t be relying on importing large quantities of matter to constantly top stuff up. That’s not how it works. We are really focusing on our own compost, making our own feed and now then next step is green manures. 

4. Effort...

Not to be underestimated! Its hard work unloading 50 bags of 80ltr horse shit every six moths and dragging it over the site in a wheel barrow…. much easier to sow some seed. Watch it grow. Cut it down. Perfect.   


So what are we doing this year?

Of the many varieties and benefits you can choose from when finding the right Green Manure for your site/problems, it can get a bit confusing. We are going to keep it simple. Our main soil problem is lack of organic matter and poor fertility so Mum and I are going to focus mainly on Phacelia, Field Beans and Alfalfa.

Phacelia

We are growing this one for two reasons and in two different ways.

It has an extensive root structure that will help and masses of top growth to add bulk. Its very fast grwoing and we are sowing it in some beds to be cut down before we plant winter crops in them and in other areas we will leave it to flower are it produces a fantastic purple flowers that the bees go mad for.

BUY SEEDS HERE!

Field Beans

Field Beans are actually a broadbean that does produce pods but they’re very small. Although its often recomended for heavy clay soil its the large amount of top growth and it nitrogen fixing characteristics that we are after!

BUY THEM HERE!

Alfafa

I’ve seen Alfalfa discribed as the complete fertaliser!

Again we are growing this one as a boost in organic matter as its soft growth can be cut and mulched rather than dug in. Its also a nirogen fixer and does well in dry, poor soil improving structure and overall soil health.

It can also be grown for longer periods and cut repeatedly every few months!

BUY SEEDS HERE!

I’ve got high hopes for green manure and i really hope you’ll follow me along as we go to see how it goes! I’n this weeks vlog LINK HERE i have sown the first of the Phacelia. Whish us luck! And please, if you have any experiance with grenn manures or tips thats might help let me know in the comments bellow!

Jessie.x

Chard. The two-in-one vegetable of the gods…

Chard. The two-in-one vegetable of the gods…

CHARD. The two-in-one vegetable of the gods…

If any of you follow me on Instagram you will know how much I love chard… but we haven’t always seen eye to eye. The problem was that i hadn’t realised that it needs to be treated like two separate vegetables.

The stems. And the Leaf.

The leaves are delicate in flavour, quick cooking, buttery soft and make the finest lasasgn known to man*.

*says me.

The stems on the otherhand are very strong tasting with an earthy flavour and can be eaten more like aspargus or even celery. Separately they are both delicious but when cooked together you tend to get over cooked leaves, under cooked stems and a generally muddy flavour. 

Spinach vs. Chard. And whats the diff?

Spinach and Chard are from two totally different families. Chard, Swiss Chard, Silverbeet and Bieta are all true Beta vulgaris subsp. vulgaris. Interestingly so is Beetroot but when you think about it you can see how closely related they are from the stems! Whereas true spinach (always with thin green stems) is Spinosa oleracea. I say ‘true spinach’ because the term has come to be used to describe a whole plethora of plants that we eat the leaves of like Malabar Spinach or Tree spinach who are both completely unrelated. Just to confuse things a little more Perpetual Spinach is in fact a chard…

Spinach has a far shorter picking time, its is less tolerant of cold (it collapses into green sludge if a frost is in the air) and will bolt the very second we get a hot patch. This is because its is an annual, where as chard is a biennial. Chard is also a more vigorous animal, with much larger leaves.

The differences are clear when you look at the seed. Chard (and beetroot) seed is compound, a little cluster of seeds meaning you get more than one plant germinate from each. Spinach seed is smooth and singular.

Spinach Seed

Spinosa oleracea

Chard Seed

Beta vulgaris subsp. vulgaris

So…Growing Chard!

Chard wants a fertile, free draining soil in full sun (don’t we all?).

If direct sowing – sow at a spacing of 5-10cm in drills about 2cm deep, in rows 30cm apart. They will need to be thinned.

I know thinning out is hard to do but these plants really benefit from a bit of space around them to grow big. You can wait until they are big enough to be used in a salad if you can’t cope with the waste of a young life.

If you are sowing in seeds trays, 2 seeds per cell should do it and transfer the biggest of them out into their final position when they have 2 true leaves.


If like me you have a tenancy to leave plants in their seed trays rather a long time, try not to with these because they will show their displeasure.

Whether in the ground or in pots, keep them well watered in the hot weather and watch them grow. You can start harvesting the outer leaves from each plant as and when they are big enough.

Then you make Chard Lasagna


There are loads of different varieties of chard to choose from and so many are fab but these are probably my 4 favorites:

Bieta

Franchi Seeds (Amazon)

This was the one i originally fell in love with and i hadn’t actually realised it was chard! It hasn’t got the flashy stems of the others but its probably still my favorite. Its a thinner-stemmed one, although i still separate them.

Can’t beat this steamed with butter and nutmeg… *swoon*

Peppermint

Kings Seeds (Amazon)

Named after their almost flourescent pink and white striped stems (that look like sticks of rock) rather than the flavour of peppermint.

Huge big dark green glossy leaves, that aren’t tough to eat. A reall joy, I love it!

'Bright Lights' Rainbow

Thompson and Morgan

‘Rainbow’ isn’t actually a variety in its self, its a mixed bag of Pink, Red, Yellow and White stemmed varieties.

For maximum impact – you can’t beat these.


Golden or Bright Yellow

Thompson and Morgan

As the name suggests, this one has yellow stems and it was an absolute favorite of mine last year. I love how the leaf veins keep their colour and the flavour was really fantastic!


Cima di Rapa! – if a turnip had a baby with spinach and its cousins were chicory and mustard….

Cima di Rapa! – if a turnip had a baby with spinach and its cousins were chicory and mustard….

Cima Di Rapa – if a turnip had a baby with spinach and its cousins were chichory and mastard…

The summer months generally a time for picking. Being inundated with beans and courgettes, preserving, jam making and pickling. But its important not to forget that many of the things that are going to keep us going over winter need to be started off now. And that is where Cima di rapa comes in!

Did you know?

Cima di Rapa hails from Puglia in southern Italy. Its name litterally translates as ‘turnip top’.

Direct Sow

April – Sept

Plant Out

Position

Sunny

Harvest

40 – 120 days depending

What is Cima di Rapa?

Also known as Broccoli Raab, this is a low growing, sprouting brassica thats hugely popular in Italy and is the key component in ‘orecchiete e cima di rapa’. Although it’s strangely little-known in the UK. It has bright, pale foliage and acid green flower stems. It is the immature flower heads that you eat, a little like purple sprouting but they are much more tender. Flavor is as if a turnip had a baby with spinach and its cousins were chicory and mustard…. There are many many varieties of this soft, slightly bitter, broccoli type vegetable and most are named after the number of days from sowing to harvest! The 4 that are easiest to get hold of here are Quarantina (40), Sessantina (60), Novantina (90) and Centoventina (120). Generally the longer the growing period the better the raab is considered and so of these the Centoventina is superior. 


How to grow Cima di rapa?

Cima di rapa is an easy crop if you can avoid it bolting. This has happened to me a couple of years on the trot now and so i’m sowing mine later this year. I’m doing two half-beds of it, one sown now (mid August) and i’ll go again in September. Its hard to know what the weather will do and if we get a hot second half of summer, the August one will probably bolt before its beefy enough to supply a whole-winter crop.

Regular watering will help with the bolting and i’ve also found that direct sowing is really the only way. Doesn’t matter what month I do it in, if I transplant them they bolt before i’ve taken a breath. You can still use the bolted plants but you pick them more like a cut-and-come-again salad mix and only get a couple of pickings before they fade.

It also needs a relatively fertile soil like most brassicas.

Eventually you want your plants to be spaced at about 20cm apart. Anything under 15cm and they become pretty stunted (another lesson learned), so sow about twice that and thin them down as they grow. The young plants that are thinned out can be used in salad.

They will begin to produce sturdy florets from the centre of each plant which you can snap off, down to a set of leaves. The stalks won’t need to be trimmed as they are string-less and tender. After the main ‘head’ has been picked the plants will produce a series of more spindly stems that are just as good for eating as the first one.

You do need to keep on top of harvesting the heads as they come because if they reach maturity the plant will stop producing and run to seed.

Last year we were too late getting it started and it was a general fail but the year before we were eating it most of the winter and it became a real favourite in my house.

When it’s harvestable later in the year, I will be putting some favorite recipes up here, not least for my friend Alex who has received this excellent veg in her delivered vegetable box before and hated it so much she said it made her face ache… okay, it can be a little on the bitter side.

But if you cook it right, it’s glorious!

Orange and Saffron Gin

Orange and Saffron Gin

ORANGE AND SAFFRON GIN

This is one of my favorite gin flavorings but these things are all very personal and Mum really doesn’t like this one! She is one of those people who mysteriously can neither taste nor small saffron and that’s what really make this special and deep.

INGREDIENTS

  • 200ml good quality Vodka

FIRST STEEP

  • 5 juniper berries
  • 1 clove
  • 5 pepper corns
  • 5 coriander seeds
  • 1 cardamon pod
  • a few strips off of a stick of cinnamon

SECOND STEEP

  • 5 strands of Saffron
  • 2x 7cm strips of Orange peel.

METHOD

This recipe is for a ‘trial size’ steep. I think part of the fun of this is trying lots of different ones and so i do them all in small batches. If you decide you love it, just scale it up for larger quantities!

Put your ‘first steep’ ingredients into your bottle or jar and top it up with the vodka. Leave this to sit for 12-24hrs.

At this point have a smell of it and a little taste to check how its coming along. You may want to strain it at this point if your happy with the flavors or leave them for the second part to strengthen them.

Using a potato peeler, slice off two strips of orange peel about 7cm long trying to avoid any pith and put them into the vodka along with the saffron. Leave for between 6 and 12hrs.

Check your flavors and either strain it at this point or leave it a little longer. Don’t leave it more than 48hrs in total because its likley to be undrinkable!

Girl holding out a glass of gin in 'cheers'

Mix as usual with ice and tonic. I like to put a sprig of Lemon Verbena in mine but thats up to you!

Cheers!

Freezing Soft Fruit

Freezing Soft Fruit

FREEZING SOFT FRUIT

This is something i’m sure many of you do already but I only really discovered the benefits of freezing fruit separately before bagging a few years ago and it really helped! Because soft fruit tends to arrive all at once, we’ve suddenly got a years worth of Raspberries, Red Currants, Black Currants, Blackberries and anything else your growing in the space of about a month. And the only way to deal with them unless your doing 14hr jam making shifts is to freeze them!

I always freeze the separetly before bagging them up for a couple of reasons… firstly i’m never entirley sure what i’ll end up using them for and a frozen block might be okay for jam but not so good for decorating a cake! The other advantage is that you can just reach into the bag and scoop out what you need like frozen peas rather than having to deforst the whole bag at once.

I’ve learnt to pick them and freeze them imediatly because too may times i’ve left them with good intentions and theyve turned into a fruit-fly infested mouldy heap in a matterof days. 

The easiest way to do this is if you have the little skinny ice-try draw in your freezer. Stick a piece of baking parchment on there and lay them out. takes up no space and its perfect but its equally fine to line a baking tray and just clear some space to fit it into the draws.

They freeze quickly, you can loosen them of the baking sheet really easilly and then bag them up ready for use later on!

With fruit on stems like the currants, freeze them on the stems because once they are frozen they pull off really easilly!

So how long can you keep frozen fruit?

About 8 months is the max really. I mean, I’ve made jam from fruit that been sat in there for about two years but i wouldn’t use it for much other than that.

The sort of cheating way to make gin… but its great!

The sort of cheating way to make gin… but its great!

The sort of cheating way to MAKE YOUR OWN GIN, but it’s great!

I’ve always been rather partial to a Gin and Tonic but the explosion of the Craft Gin culture has really opened my eyes up to what gin can be. Last year my sister and I went to The Gin Fair and the range of hugely different gins was eye-opening!

But at its heart gin is simply a neutral spirit flavored with botanicals, the dominant flavor being juniper. That’s really it! I don’t have the equipment to distill my own from scratch so I began using vodka last year. This ‘steeping’ is a recognized method of gin making and is known as Compound Gin.

The method is super simple. Put your ‘dry’ flavours and Juniper in a steralised bottle or jar and top up with vodka. Leave for 24hrs. Taste. You can adjust your flavors at this point and leave to take on more flavor. I wouldn’t leave it much longer than 48hrs in total because the flavors can become very strong.

If you want to use any ‘fresh’ ingredients like orange peel, for example add this after the dry has done its thing, and steep again.

Honestly, thats it!

One thing i would recommend though… make small batches to test! I have made some undrinkable things and was glad to have not wasted a litre of vodka on the monstrosity!


As well as making small batches to begin with, take notes on how much of what you use each time. The options are endless(ish). I say ish because nobody needs prawn gin in their life. 

But common dry ingredients can include Cardamon, Angelica root, Cinnamon, Corriander seed, Vanilla, Peppercorns, dried Rosemary, Liquorice, Lavender, Cumin, Fennel seeds…

Fresh ingredients would be things like Citrus peel, fresh Rosemary, Lemongrass, Ginger, Strawberries, Raspberries…

Basically the world is your oyster with this but I warn you… once you start experimenting its pretty addictive!

3 OF MY FAVORITES – 

Orange and Saffron Gin

This is a gin so good you can drink it neat but with tonic, its basically my favorite. The orange peel gives it a sweet smell and the saffron keeps it earthy.

Lime and Lemongrass Gin.

This is so good on a hot summers day with loads of ice. Its like gins gone on holiday to Thailand.

Rose Gin.

This is so simple and so lovely, delicate and light. Sitting outside on a warm summers evening with this is like having the essence of an old english garden in your hand. Bliss.

Italian Bean Soup. Yes.

Italian Bean Soup. Yes.

ITALIAN BEAN SOUP. Yes

THE BLURB:

This is such a good allotment use-up dish for beans and brasiccas. In this case I’ve used Greek Gigantese and Borlotti for beans and Cavolo Nero and Asturian Tree Cabbage as the greens but anything along the same lines is fine. If you have french beans to use up they can go in too.

THE INGREDIENTS:

  • 2 tablespoons of olive oil
  • 1 medium sized onion, diced
  • 2 or 3 carrots, diced
  • 3 or so rashers of good unsmoked bacon, diced
  • A large hand full of any good flavored dried beans, soaked over night.
  • Brassiccas, washed and sliced into ribbons. (Cabbage, Kale, Cavolo Nero, Kalettes even Brussels Sprouts wouldn’t be a no-no)
  • Tomato passatta, or fresh tomatoes (if using fresh, just core them and chop them in half)
  • 1/2 tsp Dried Oregano, or a sprig of fresh
  • 2 Bay Leaves
  • 1 pint of mild stock, chicken or vegetable
  • Salt and Pepper
  • Parmesan Cheese. If you have kept your hard cheese rinds, now is their moment!

THE METHOD:

Heat the olive oil in a large pan and throw in the Onion, Bacon and Carrot. Let this cook down until the bacon is a little crisp and the onion is soft.

Then in go the Beans, the Stock, the Passata (or fresh tomatoes), the Bay leaves, Oregano and the cheese rinds. Let this bubble away gently until the beans are just soft. Its hard to say how long this will be because it depends so much on how fresh they are but normally about an hour. You may need to add more water during this time.

Add in the cabbage/kale (and french beans if you’re using them) a good grind of pepper and salt to taste. Depending on how young and tender/old and tough your greens are let this carry on cooking until they are soft.

Serve into bowls and grate a good amount of Parmesan, or similar, over the top.

NOTES and LINKS:

Although this is a stew, its got a real summer or early autumn feel to it. Hot day, crusty bread and a huge green salad and its basically heaven.

Runnerbean soup, with mint and feta.

Runnerbean soup, with mint and feta.

RUNNER BEAN SOUP with Mint and Feta

Soups an obvious choice when faced with an allotment glut but we tend to freeze most of ours and have them in the colder months. Not the case with this one though, its a decidedly Summer soup. Its bright and light and the mint gives it a really fresh taste.

You can use up some of the more stringy beans for this too, as long as your blender is beefy but you might have to boil them down a bit longer.

INGREDIENTS

  • 1 tablespoon of olive oil
  • 400g Runnerbeans. Trimmed and chopped
  • 200g of flowery potatoes. Chopped finely
  • 1 large Onion. Chopped finely
  • 1.5ltrs of weak stock. Chicken or vegetable
  • A handfull of fresh mint leaves
  • A smattering of crumbled Feta

METHOD

Heat the olive oil in a large saucepan, and add the chopped potato and onion. You’ll have to keep stirring this mix because the potato does have a tendency to fuse to the base of the pan. Cook this mixture until the onions just begin to go transparent

Then throw in the runnerbeans and top up the pan with the weak stock so that the beans are just covered. I find this about 1.5ltrs but it might depend on the pan you’re using. The stock is weak because runnerbeans don’t have that strong a flavor and can be easily over powered.

Let this boil for about 10 mins until the beans are tender and the potato squishes easily against the side of the pan.

The soup then needs to be blended. I use a hand-whizzer but if you’re tipping the mixture into a blender, you will want to let it cool down a little in case of burning hot soup explosions.

Once it’s smooth, throw in the handful of mint leaves. The leaves can be the gnarly ones from lower down the plant, it wont matter. Salt and pepper to taste and blitz it up again.

If the soup is too thick, add a dash of water. Return the pan to the stove to heat it back up and ladle into bowls. Just before serving, give the soup a swirl of really good quality cold pressed olive oil and scatter the crumbled feta across the top!

Crusty bread is needed for me when this soups afoot, and a bit of sunshine…