Chard and Cheese Stuffed Potato Skins
CHARD & CHEESE STUFFED POTATO SKINS
BLURB
I’m always going on about how simple these recipes are but thats because the recipes i love are always that – simple and adaptable. In this version i’m using Lucullus chard because at the time of filming/writing/photographing this, thats what i have just cleared out of the polytunnel but i will add variations through the year i’m sure.
This all starts with a jacket potato (aka a baked potato)…
INGREDIENTS
- 2 good sized potatoes. A fluffy variety.
- Butter
- Gryere cheese
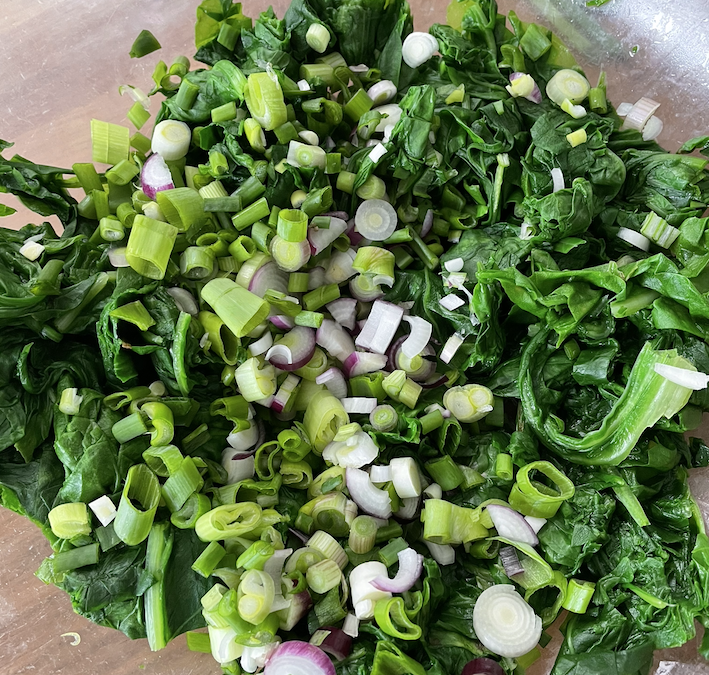
- Chard
- Spring onions
- Salt
- Pepper
")
METHOD
Firstly bake the potatoes how you would a normal Jacket. I prick mine with a fork and run with salt (the salt on the skin helps it crisp up). Depending on how much time i have eiother put them in the oven for 40mins or zap them in the microwave for 3-4mins first and get them in the oven for 20mins.
Cut the still hot jacket potatos in half, long ways, trying to to tear the skin. Using a tea towel or something to protect your hand, cup the half potato and scoop out the fluffy center into a large bowl. You have to be a little gentile doing this, scooping most of the insides out but leaving enough that the potato holds its shape. Once they are sorted, put them to one side.
Add all the other ingredients into the bowl of scooped fluffy potato and using a fork mix the whole lot together to combine.
Divide the bowls contense into 4 and using your hands, mould each into a smooth ball. Then press the ball of filling back into the shell of the potato skin and shape it to fit nicely. They should be slightly domed.
Put the 4 half shells back into the oven, on a piece of foil or a baking sheet incase of cheese overload.
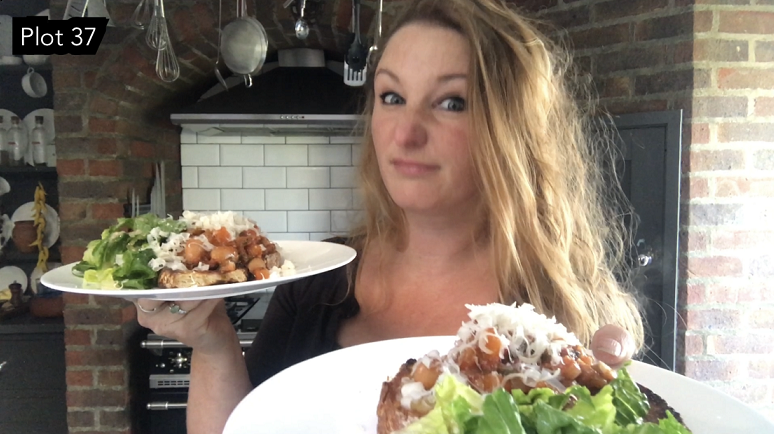
They’ll take about 15mins but it will depend a little. You are looking for a golden brown top. And then – TaDah!

NOTES and LINKS
Couple of tips here – you can obviously swap out the fillings and theyps of cheese you use. I’ve done this with bacon and chedder / Sweetcorn, chilli and cream cheese…etc but the type of cheese you use will effect how well they ‘stay together’ when cooking.
I will be posting variations of this over the years so they will go here as and when they appear.
")


")

")