Summer Fruit Pudding…

Summer Fruit Pudding…

Summer Fruit Pudding

This is the easiest of puddings, it really is. And you can use up all sorts of fruit gluts in it! I’m useing a mix of Mulberries, Blackberries and Raspberries but Red Currants, Black Currants, Stawrberries, Blueberries, Cherries….etc all work fantastically. I’ve even put rhubarb in it before and it was fab.

INGREDIENTS

  • Sliced white bread. Stale is fine, but you don’t want too many holes in it
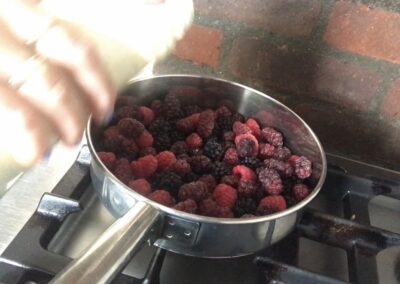
  • Mixed summer fruit, enough so that when uncooked it will fill your ramekin twice over.
  • Sugar. Again, this depends a little on the fruit you’re using. Lots of strawberries will require less than redcurrants, for example but roughly 1 tablespoon per 100g of fruit.

Also a ramekin or tub. With sloping sides for ease of extraction!

A saucer that fits over the top.

Something heavy to compress it.

METHOD

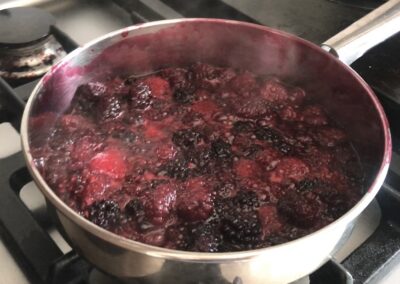
First thing is to put the fruit and sugar into a shallow pan, with a lid. No need to stir, just put the heat on low and the lid on. This will take about 5-10mins until the fruit starts to bubble. Be careful not to burn it because the sugar can catch but generally the lid should keep the moisture in. You want the fruit to be cooked, and the juice and sugar to have formed a syrup but the fruit hasn’t turned to mush. Then just turn the head of and leave it to cool.

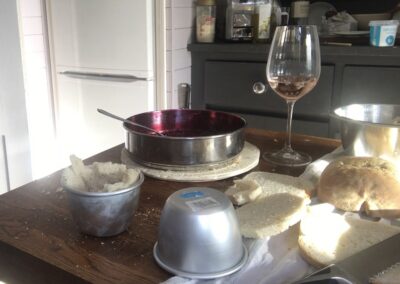
While thats cooling down, line your ramekin with a double layer of cling film (I dont do this because i know the puddings drop easily out of my containers but if you’re unsure, it really does help with getting them out at the end!)

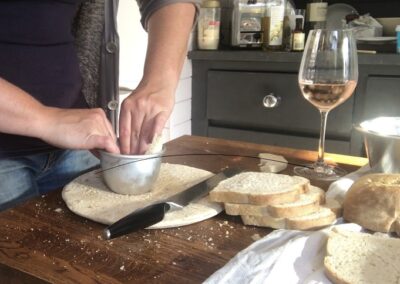
Then slice your bread into 1cm thick slices. The only two impotant bits are to cut a disk for the top and one for the bottom, both just slightly larger than they need to be.

Start by placing your top disk into the base of the ramekin and then make your sides with the bread. You can try to be pretty about this but it never works out for me and doesn’t matter in the end anyway so just make sure the walls are covered and any holes are filled.

Then once the fruit mixture is cool enough, spoon it into the bread case. I would definitely spoon it rather than tip because you have more controll over the bread walls doing it slowly and pressing it down as you go. Once its completely full place the bottom bread disk on top and put the saucer or fitting tim on top, pushing down to compress it all. There will be oozing… Place your heavy object or weights on top and put it in the fridge!

You’ll then need to chill it over night preferably but for 4 hours minimum to allow the bread to soak up the juices and the syrup to set.

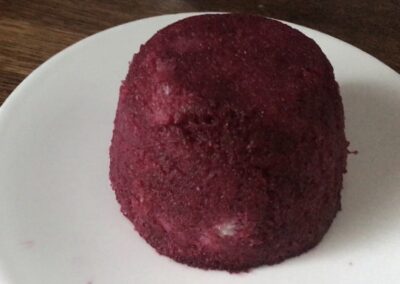
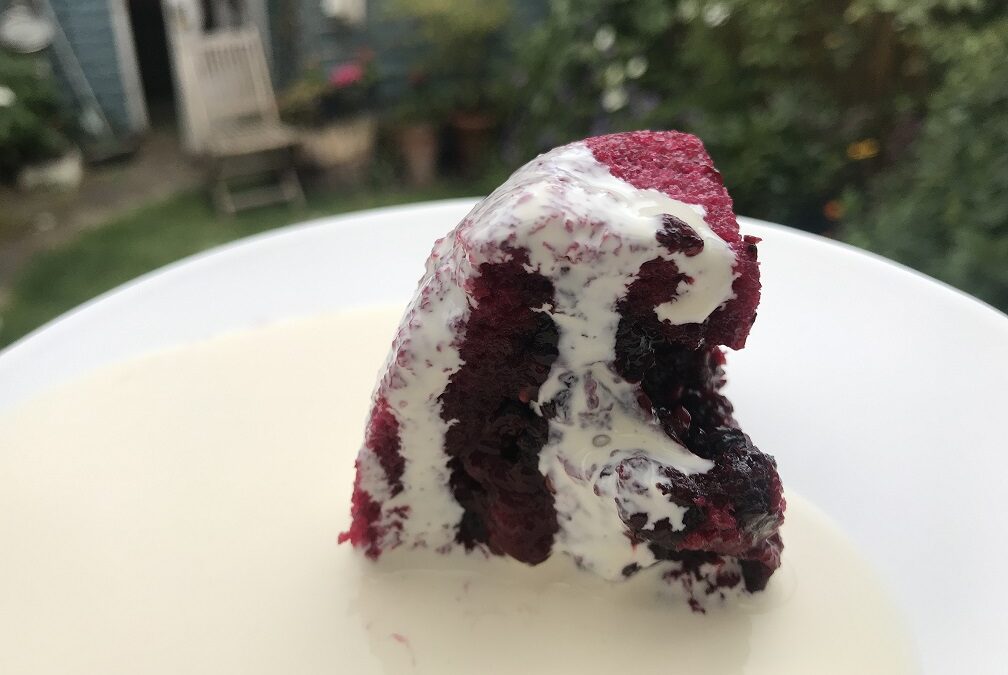
When your ready to serve, remove the weights and saucer and tip it out onto the serving plate, slice and serve with a load of double cream or ice cream… 

Chard Lasagna, a thing of great beauty…

Chard Lasagna, a thing of great beauty…

CHARD LASAGNA: A thing of Great Beauty!

THE BLURB:

To anyone who watches the vlogs, or infact follows me on Instagram will know – I am a dedicated lover of chard! But I know there are plenty out there who remain unconvinced. Try this recipe and see where you stand afterwards…

The key to this recipe is to stem the chard. I have said it before but it really did change chard from a vegetable i was none too fussed about to a real favourite just by treating it as two separate vegetables. The stem and the leaf.

This recipe is a leaf one but don’t throw away the stems (unless, like my mum, you can’t stand them. Even in soup!) you can use them like you would a Pak Choi.

THE INGREDIENTS:

For the tomato sauce – 

  • 1 medium onion
  • 2 fat cloves of garlic
  • 400ml tinned tomatoes, or the equivalent in homegrown
  • Salt
  • A splash of olive oil

For the white sauce –

  • 25g of butter
  • 2 tablespoons of plain flour
  • 250ml of milk
  • Nutmeg
  • Salt

Also –

  • 6 lasagna sheets
  • 180g of stemmed, washed chard
  • 60g mozzarella
  • A sprinkle of grated Parmesan

THE METHOD:

For the tomato sauce heat the oil in a pan, add the diced onion and garlic and allow it to soften until translucent. Add the tin of tomatoes then refill the can with water and add that too. Allow this to simmer until its reduced by half. Salt to taste and leave to cool.

Whilst that is bubbling away, set a large pan of water on to boil.

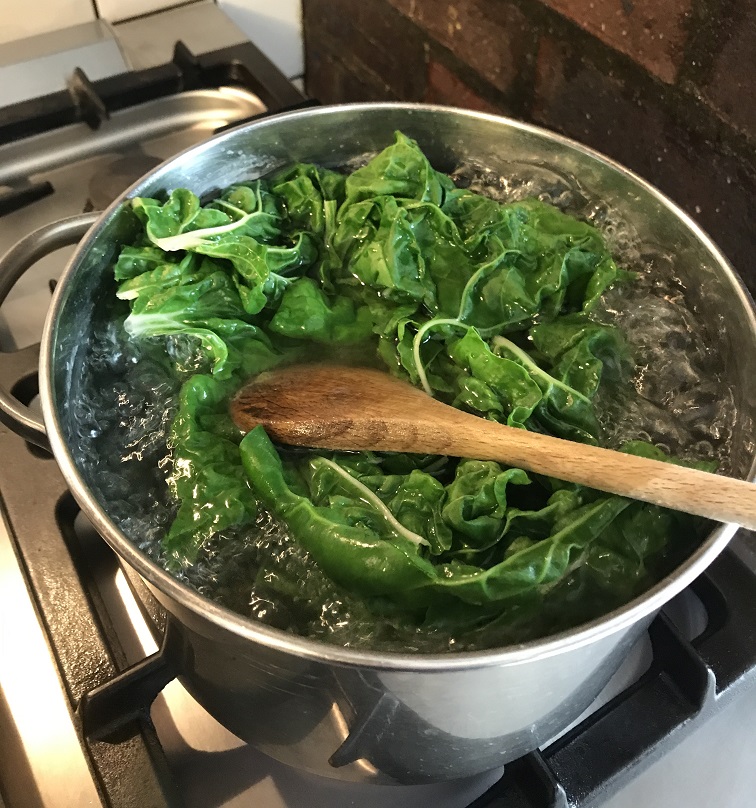
Once it is at a good rolling boil, blanch the chard leaves for 30 seconds in the water or until the leaves have ‘collapsed’ but are not mushy, using a draining spoon scoop them out and leave them to cool in a colander over the sink or a bowl to catch the liquid. You may need to do this in two batches.

Once cool give them a light squeeze to get rid of some of the water.

With a normal meat lasagna, the pasta is layered raw but this version is so much lighter it needs a head start. Once the chard has been blanched, using the same pot of water par-boil the pasta sheets. This will probably need to be done two at a time to avoid sticking and takes about 3 mins each go. They want to be flexible enough that they don’t break when handled but not totally cooked. 

As they become ready, fish them out into a bowl of cold water to stop them drying out.

To assemble – 

Spoon about half the tomato sauce onto the base of a square baking dish and cover with two sheets of pasta.

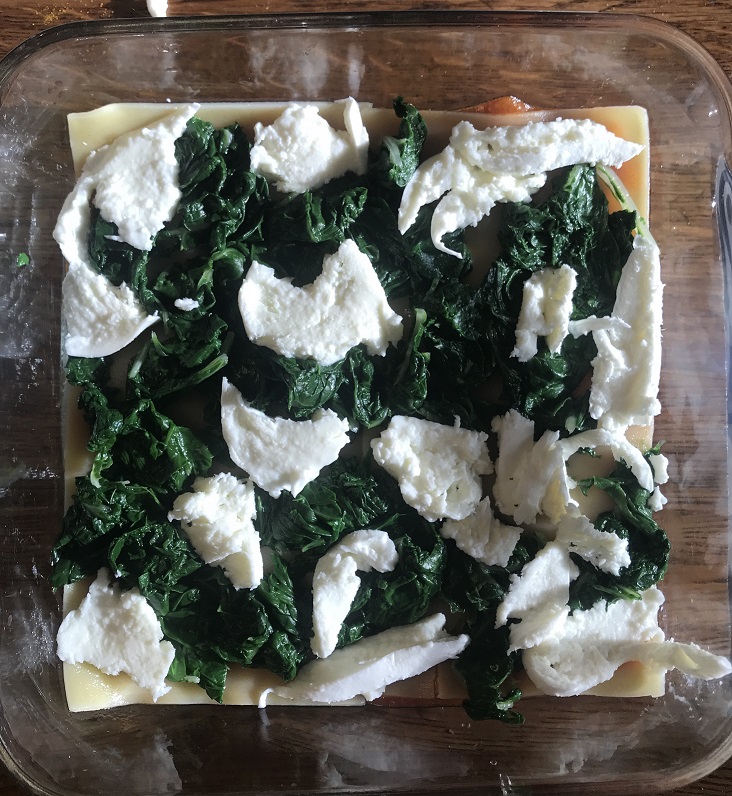
Onto that, spread out the chard and half the mozzarella. You want a decent layer. Sometimes I retain a bit to put on the top but this isn’t necessary. Season with salt and pepper and cover with another two sheets of pasta.

The next layer is the rest of the tomato sauce and mozzarella. Cover with the last two sheets of pasta.

I normally assemble the thing before making the white sauce because you really want to have this hot to pour over the top because its goes claggy and uncooperative if you let it cool.

So leave the assembled dish aside, melt the butter in a pan over a low heat and sprinkle over the flour. Using a whisk or wooden spoon mix the two together until they are one frothy mass. Keep stirring so it doesn’t brown. Keep cooking this mixture until in pales in colour, just a few minutes and get ready for a bit of furious mixing.

If you warm the milk its less frantic but i never bother. If you mix it hard enough to got give it a chance to form lumps. Warm or cold, add the milk to the mixture starting with about a 3rd and then the rest gradually. Keep stirring. Once its silky smooth and about the consistency of loose custard (you may need a little more or less milk), add the salt and a good grate of nutmeg to taste. Pour the mixture over the pasta, making sure to cover it. And sprinkle with Parmesan cheese.

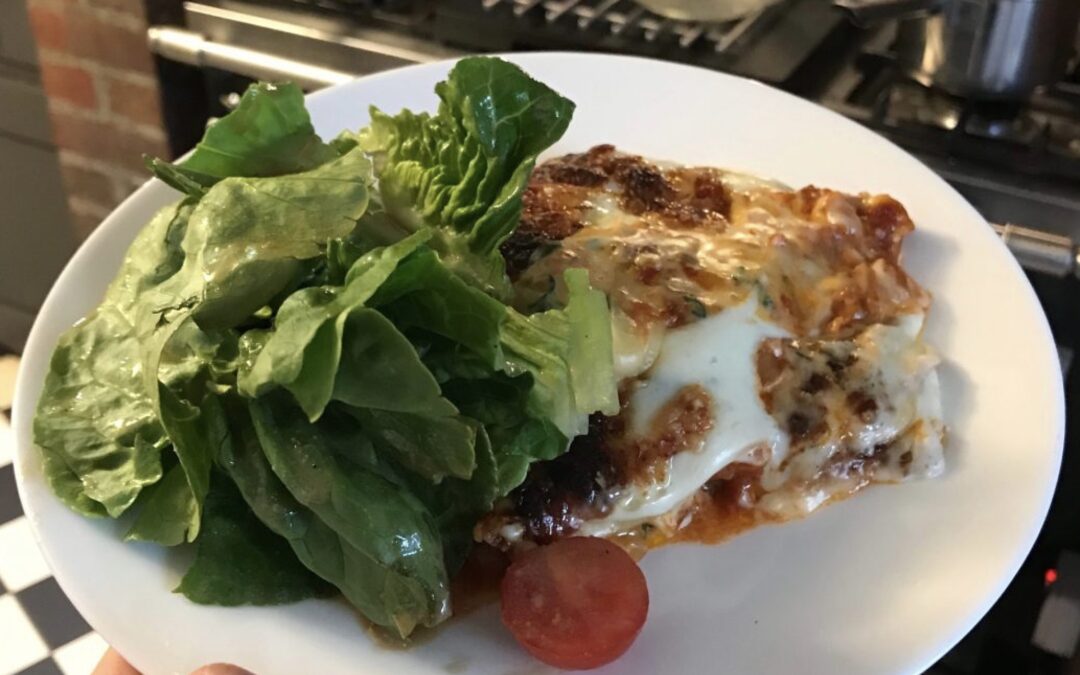
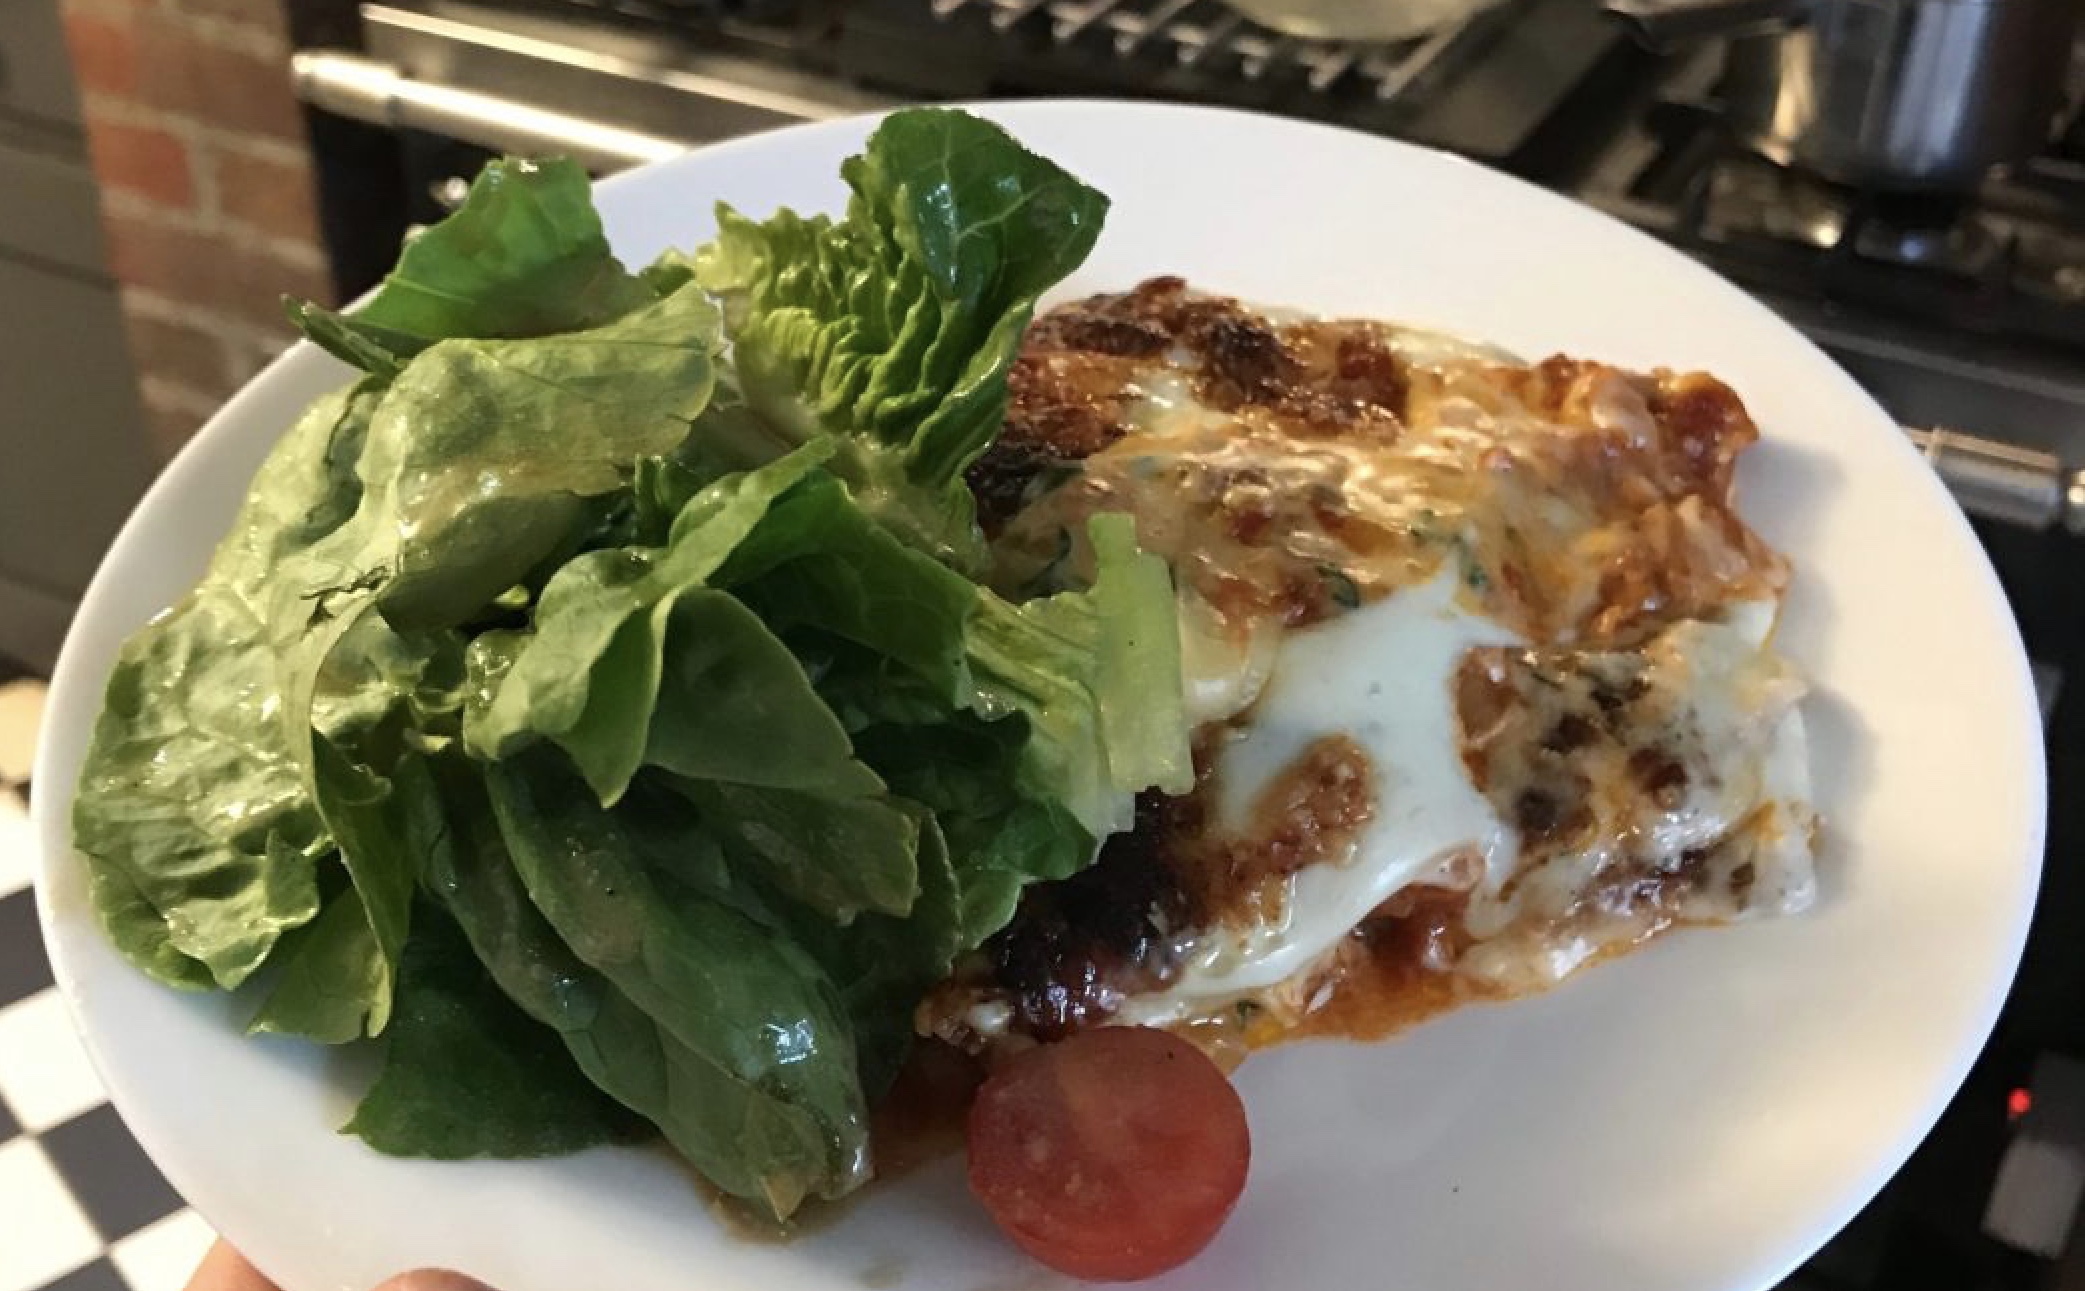
This goes into an oven preheated to 220 and will take about 20 -30mins, or until bubbling and browning on top. Let it stand for a few mins before cutting and serving. It’s considerably ‘looser’ than a conventional lasagna and generally wont land on the plate in a neat manner but the flavor is second to none. serve with a bright fresh green salad and crusty bread.

NOTES and LINKS:

So this is obviously a basic lasanga recipe and like most of my recipes, can be riffed on. I’ve done this with all sorts of greens – turnip tops, cavolo nero, even cabbage! Although, the cabbage one was stretching it a bit.

For more Chard-Worshipping, i have a blog post about how much i love the stuff here –


Chard, the two-in-one Vegetable of the Gods!