Freezing Soft Fruit

Freezing Soft Fruit

FREEZING SOFT FRUIT

This is something i’m sure many of you do already but I only really discovered the benefits of freezing fruit separately before bagging a few years ago and it really helped! Because soft fruit tends to arrive all at once, we’ve suddenly got a years worth of Raspberries, Red Currants, Black Currants, Blackberries and anything else your growing in the space of about a month. And the only way to deal with them unless your doing 14hr jam making shifts is to freeze them!
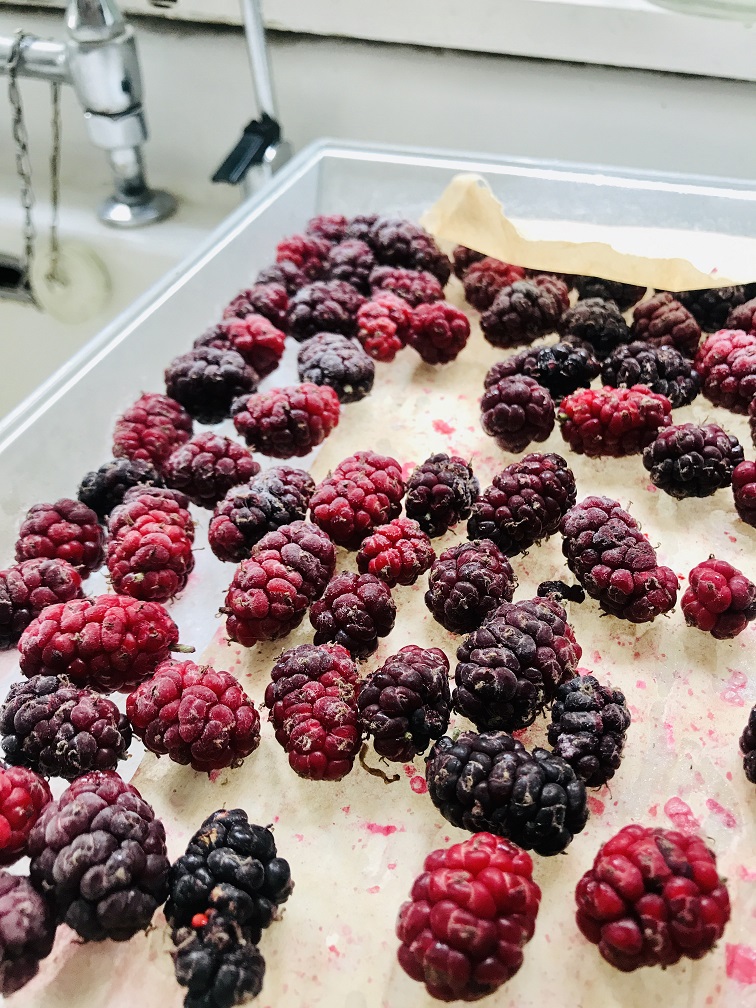
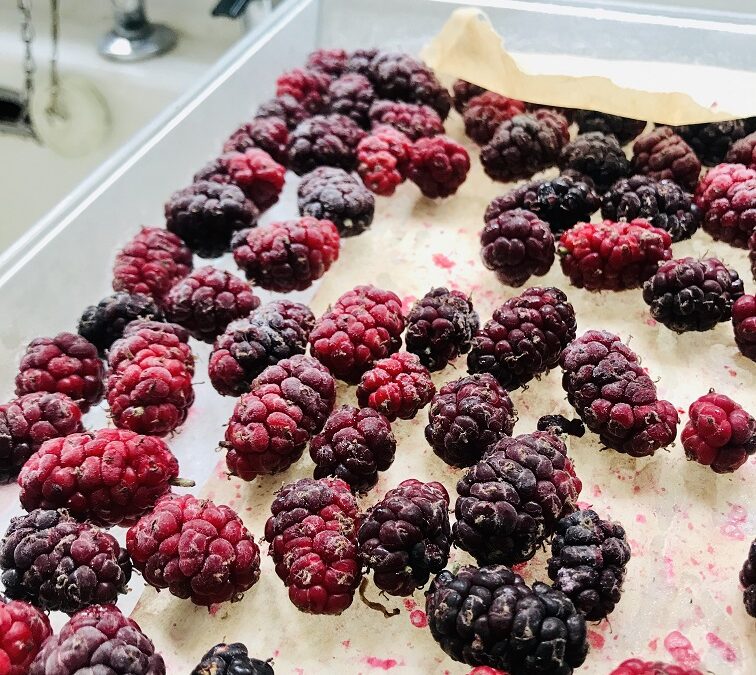
I always freeze the separetly before bagging them up for a couple of reasons… firstly i’m never entirley sure what i’ll end up using them for and a frozen block might be okay for jam but not so good for decorating a cake! The other advantage is that you can just reach into the bag and scoop out what you need like frozen peas rather than having to deforst the whole bag at once.

I’ve learnt to pick them and freeze them imediatly because too may times i’ve left them with good intentions and theyve turned into a fruit-fly infested mouldy heap in a matterof days. 
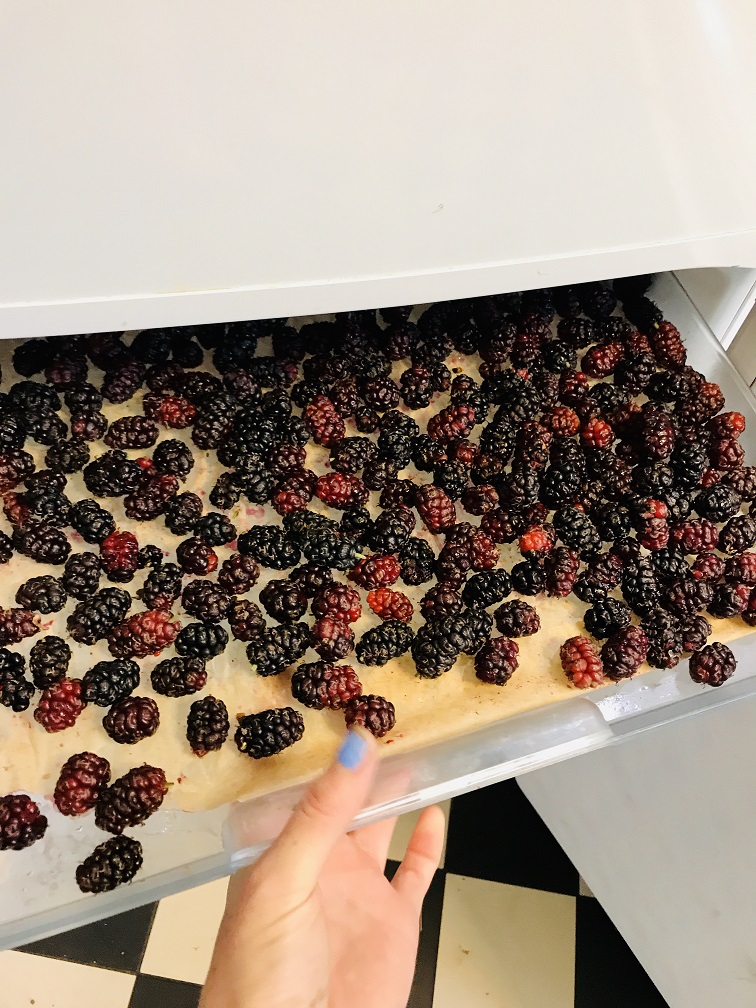
The easiest way to do this is if you have the little skinny ice-try draw in your freezer. Stick a piece of baking parchment on there and lay them out. takes up no space and its perfect but its equally fine to line a baking tray and just clear some space to fit it into the draws.

They freeze quickly, you can loosen them of the baking sheet really easilly and then bag them up ready for use later on!

With fruit on stems like the currants, freeze them on the stems because once they are frozen they pull off really easilly!

So how long can you keep frozen fruit?

About 8 months is the max really. I mean, I’ve made jam from fruit that been sat in there for about two years but i wouldn’t use it for much other than that.
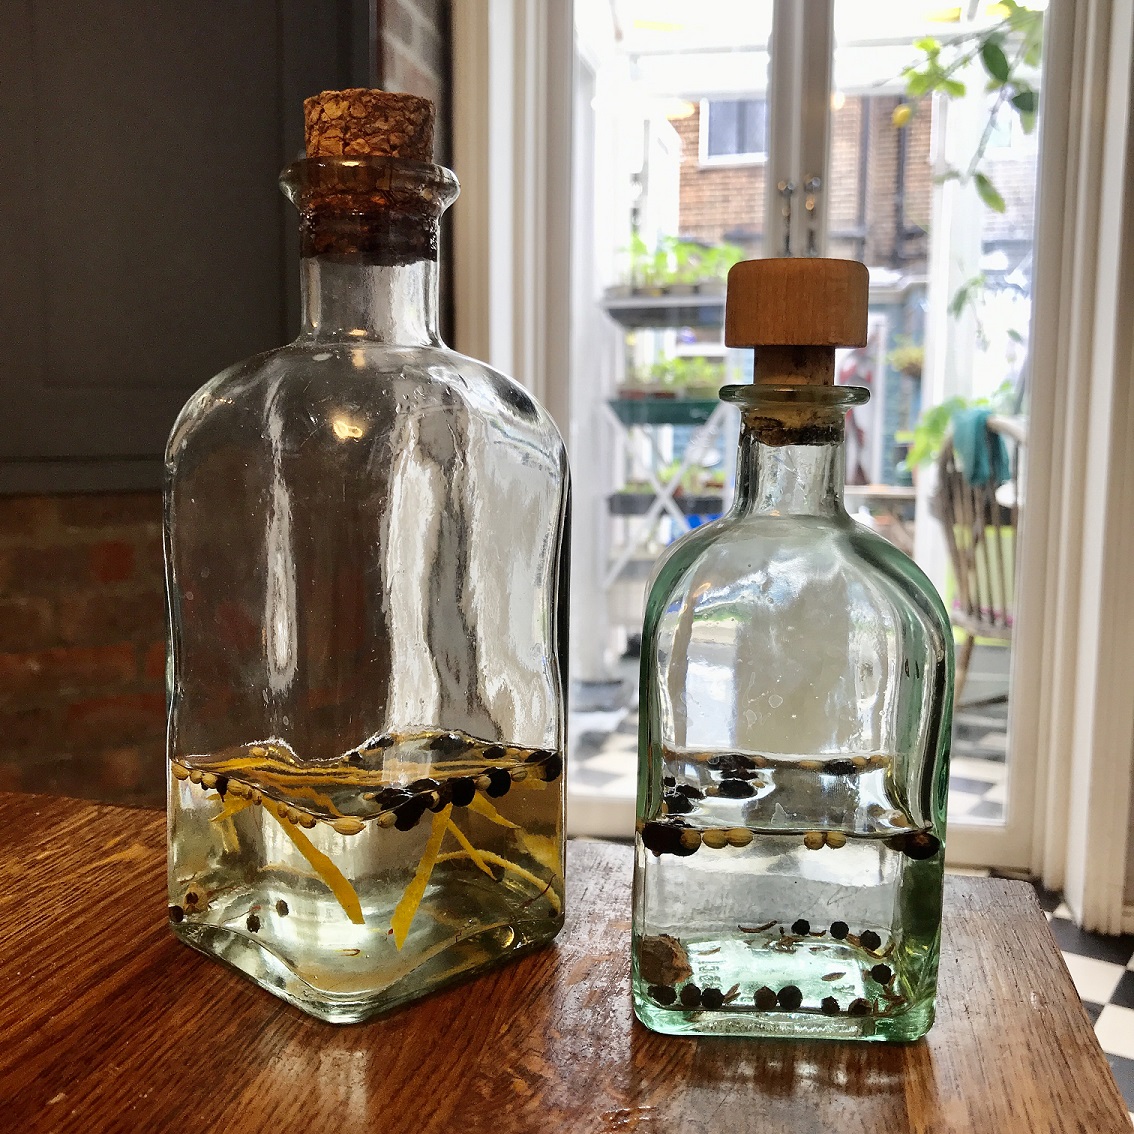
The sort of cheating way to make gin… but its great!

The sort of cheating way to make gin… but its great!

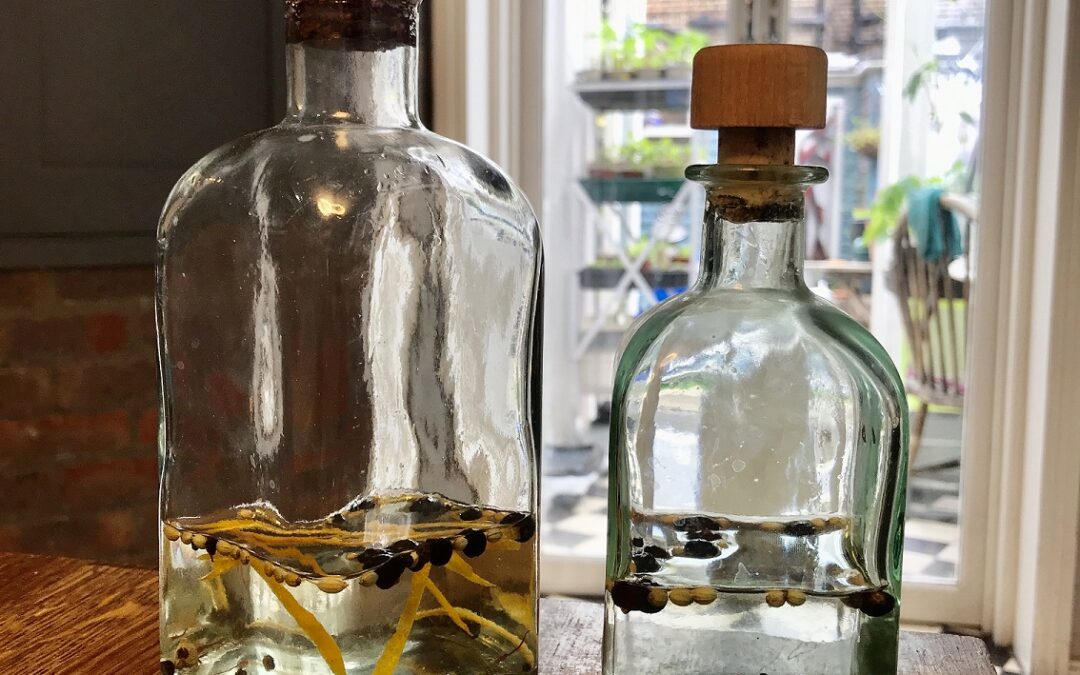
The sort of cheating way to MAKE YOUR OWN GIN, but it’s great!

I’ve always been rather partial to a Gin and Tonic but the explosion of the Craft Gin culture has really opened my eyes up to what gin can be. Last year my sister and I went to The Gin Fair and the range of hugely different gins was eye-opening!

But at its heart gin is simply a neutral spirit flavored with botanicals, the dominant flavor being juniper. That’s really it! I don’t have the equipment to distill my own from scratch so I began using vodka last year. This ‘steeping’ is a recognized method of gin making and is known as Compound Gin.

The method is super simple. Put your ‘dry’ flavours and Juniper in a steralised bottle or jar and top up with vodka. Leave for 24hrs. Taste. You can adjust your flavors at this point and leave to take on more flavor. I wouldn’t leave it much longer than 48hrs in total because the flavors can become very strong.

If you want to use any ‘fresh’ ingredients like orange peel, for example add this after the dry has done its thing, and steep again.

Honestly, thats it!

One thing i would recommend though… make small batches to test! I have made some undrinkable things and was glad to have not wasted a litre of vodka on the monstrosity!


As well as making small batches to begin with, take notes on how much of what you use each time. The options are endless(ish). I say ish because nobody needs prawn gin in their life. 

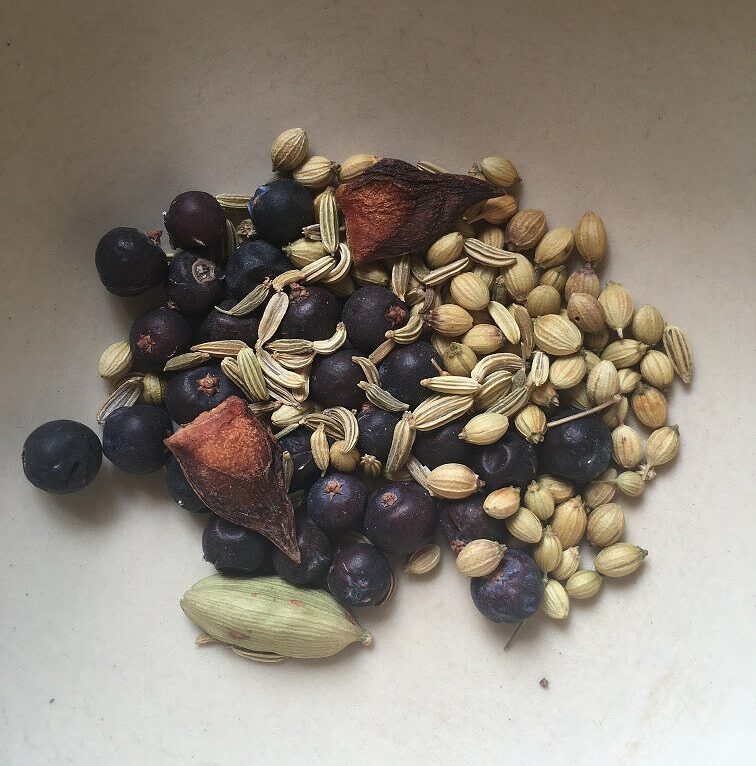
But common dry ingredients can include Cardamon, Angelica root, Cinnamon, Corriander seed, Vanilla, Peppercorns, dried Rosemary, Liquorice, Lavender, Cumin, Fennel seeds…

Fresh ingredients would be things like Citrus peel, fresh Rosemary, Lemongrass, Ginger, Strawberries, Raspberries…

Basically the world is your oyster with this but I warn you… once you start experimenting its pretty addictive!

3 OF MY FAVORITES – 

Orange and Saffron Gin

This is a gin so good you can drink it neat but with tonic, its basically my favorite. The orange peel gives it a sweet smell and the saffron keeps it earthy.

Lime and Lemongrass Gin.

This is so good on a hot summers day with loads of ice. Its like gins gone on holiday to Thailand.

Rose Gin.

This is so simple and so lovely, delicate and light. Sitting outside on a warm summers evening with this is like having the essence of an old english garden in your hand. Bliss.

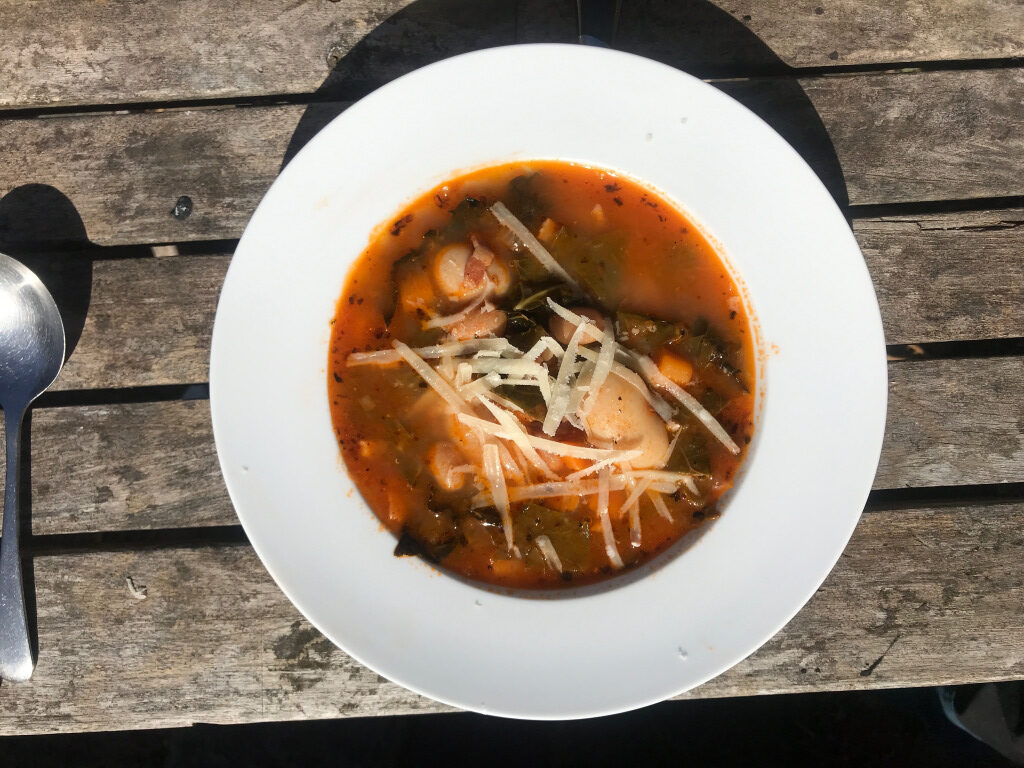
Italian Bean Soup. Yes.

Italian Bean Soup. Yes.

ITALIAN BEAN SOUP. Yes

THE BLURB:

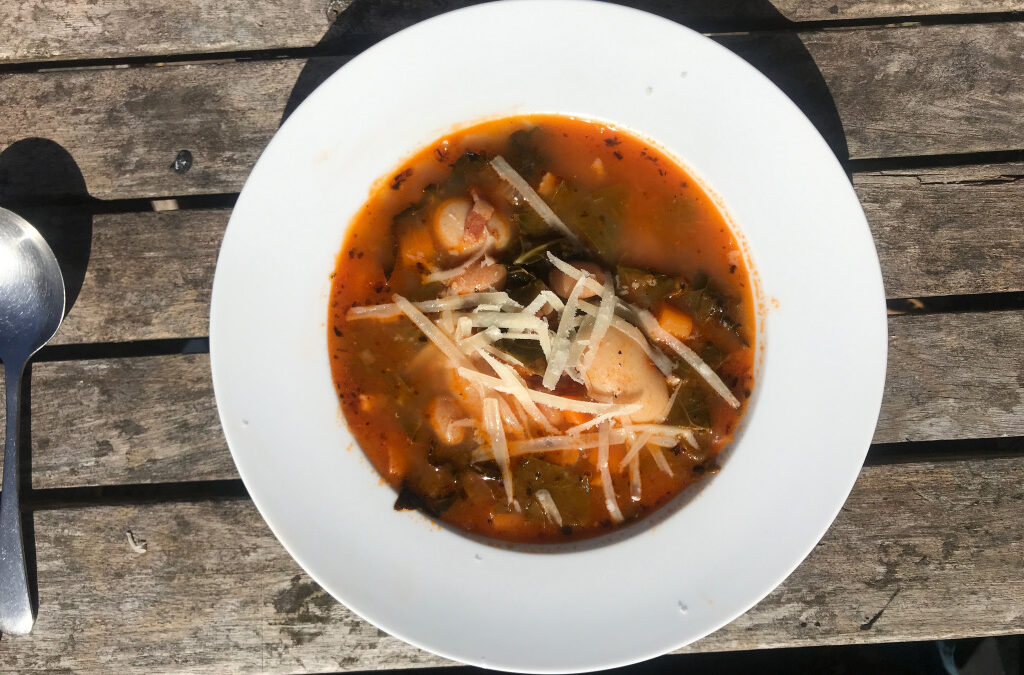
This is such a good allotment use-up dish for beans and brasiccas. In this case I’ve used Greek Gigantese and Borlotti for beans and Cavolo Nero and Asturian Tree Cabbage as the greens but anything along the same lines is fine. If you have french beans to use up they can go in too.

THE INGREDIENTS:

  • 2 tablespoons of olive oil
  • 1 medium sized onion, diced
  • 2 or 3 carrots, diced
  • 3 or so rashers of good unsmoked bacon, diced
  • A large hand full of any good flavored dried beans, soaked over night.
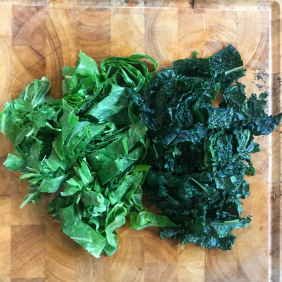
  • Brassiccas, washed and sliced into ribbons. (Cabbage, Kale, Cavolo Nero, Kalettes even Brussels Sprouts wouldn’t be a no-no)
  • Tomato passatta, or fresh tomatoes (if using fresh, just core them and chop them in half)
  • 1/2 tsp Dried Oregano, or a sprig of fresh
  • 2 Bay Leaves
  • 1 pint of mild stock, chicken or vegetable
  • Salt and Pepper
  • Parmesan Cheese. If you have kept your hard cheese rinds, now is their moment!

THE METHOD:

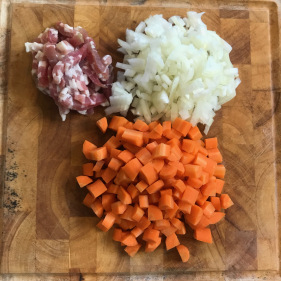
Heat the olive oil in a large pan and throw in the Onion, Bacon and Carrot. Let this cook down until the bacon is a little crisp and the onion is soft.

Then in go the Beans, the Stock, the Passata (or fresh tomatoes), the Bay leaves, Oregano and the cheese rinds. Let this bubble away gently until the beans are just soft. Its hard to say how long this will be because it depends so much on how fresh they are but normally about an hour. You may need to add more water during this time.

Add in the cabbage/kale (and french beans if you’re using them) a good grind of pepper and salt to taste. Depending on how young and tender/old and tough your greens are let this carry on cooking until they are soft.

Serve into bowls and grate a good amount of Parmesan, or similar, over the top.

NOTES and LINKS:

Although this is a stew, its got a real summer or early autumn feel to it. Hot day, crusty bread and a huge green salad and its basically heaven.

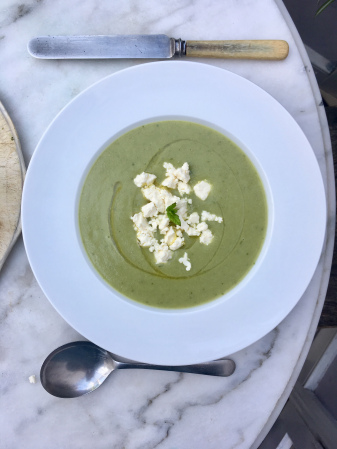
Runnerbean soup, with mint and feta.

Runnerbean soup, with mint and feta.

RUNNER BEAN SOUP with Mint and Feta

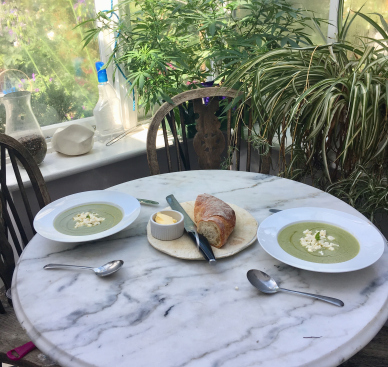
Soups an obvious choice when faced with an allotment glut but we tend to freeze most of ours and have them in the colder months. Not the case with this one though, its a decidedly Summer soup. Its bright and light and the mint gives it a really fresh taste.

You can use up some of the more stringy beans for this too, as long as your blender is beefy but you might have to boil them down a bit longer.

INGREDIENTS

  • 1 tablespoon of olive oil
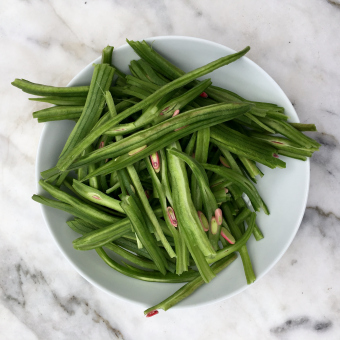
  • 400g Runnerbeans. Trimmed and chopped
  • 200g of flowery potatoes. Chopped finely
  • 1 large Onion. Chopped finely
  • 1.5ltrs of weak stock. Chicken or vegetable
  • A handfull of fresh mint leaves
  • A smattering of crumbled Feta

METHOD

Heat the olive oil in a large saucepan, and add the chopped potato and onion. You’ll have to keep stirring this mix because the potato does have a tendency to fuse to the base of the pan. Cook this mixture until the onions just begin to go transparent

Then throw in the runnerbeans and top up the pan with the weak stock so that the beans are just covered. I find this about 1.5ltrs but it might depend on the pan you’re using. The stock is weak because runnerbeans don’t have that strong a flavor and can be easily over powered.

Let this boil for about 10 mins until the beans are tender and the potato squishes easily against the side of the pan.

The soup then needs to be blended. I use a hand-whizzer but if you’re tipping the mixture into a blender, you will want to let it cool down a little in case of burning hot soup explosions.

Once it’s smooth, throw in the handful of mint leaves. The leaves can be the gnarly ones from lower down the plant, it wont matter. Salt and pepper to taste and blitz it up again.

If the soup is too thick, add a dash of water. Return the pan to the stove to heat it back up and ladle into bowls. Just before serving, give the soup a swirl of really good quality cold pressed olive oil and scatter the crumbled feta across the top!

Crusty bread is needed for me when this soups afoot, and a bit of sunshine…