The Polytunnel: The Build

The Polytunnel: The Build

BUILDING THE POLYTUNNEL (or more acurately the Polyhouse)

In April 2020 i set about building a Polytunnel on our plot, from scratch and with mostly salvaged materials. The one thing we knew we would have to spend on was the poly cover sheeting and so thats where the budget went!

The poly isn’t really a tunnel, its a 3m x 2m box with u-shaped raised beds inside. And its worked out fantastically well!

If you’de like to watch a video about how we made it:

8 months later, i did a review of how its worked out and anything we’d change if we did it again. You can read about that and watch the video here –


The Polytunnel: The Review

Litheli Chainsaw

Litheli Chainsaw

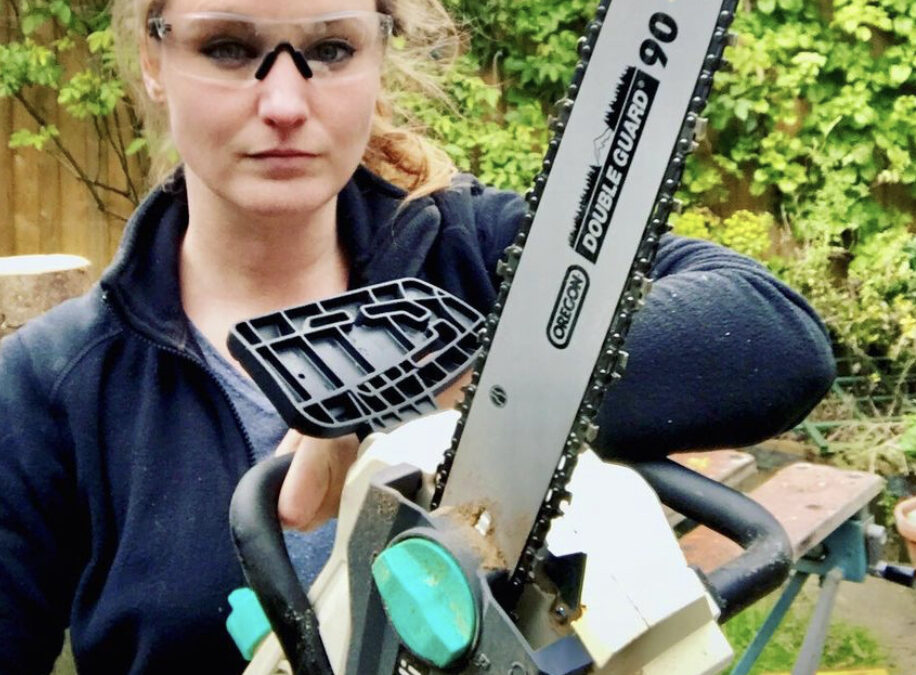
Cordless power tool company Litheli very kindly send me their cordless chainsaw to try out.

We have had a petrol chainsaw for years but i have always struggled to get it started so i was pretty keen to give this a go. Firstly, it was so easy to start! It was also much lighter than i was expecting because cordless can be quite heavy. But the proof is in the pudding – or cutting, in this case – and it did not disappoint.

We have a wood burning stove at home and so are constantly on the look out for logs but often the ones we find are absolutely massive and really not able to be cut in any other way that with a chainsaw. So what we were planning to be chopping were big logs and i wondered if this was going to be a bit of a challenge for the battery. But nope it cut pretty much like butter!

If you’re interested in a battery operated chainsaw i really do recommend this one because i think its great.


Good Hemp

Good Hemp are a London based hemp company who sell hemp milk, hemp oil, hemp kernels…everything hemp basically and they asked me to get involved in their ‘London Sustainable Food Guide’.

They asked specifically for what advice i would give to new ghrowers in a small space. I answer some questions about what to consider when starting out with Growing Your Own.

You can read my article here –

Jessie’s Grow Your Own Advice

Or the whole project here –

The London Sustainable Food Guide


How to make Homemade Chilli Powder

How to make Homemade Chilli Powder

Homemade Chilli Powder


Making your own chilli powder is so easy and blows shop bought ones out of the water. If you make it with homegrown chillis – even better!


So how do you make Chilli Powder from fresh Chillies?

The first thing that you have to do is get the chillies properly dry. If you’re lucky enough to be using your own homegrown ones or if they are shop bourght the process is the same. You can go the traditional route – stringing them up and letting them dry slowly and naturally or wham them in the oven. Or even a dehydrator if you have one!

I have gone down the ‘string em up’ path most years because i like to see them all hanging up like spicy fairy lights but for some reason, this year i had a few go moldy on me. Especially the Habanero types so i resorted to the oven method and if i’m honest – i’ll probably always do it this way from now on. It was so fast and easy.


Step One – Drying the Chillies

Cut the green tops off the chillies and halve them lengthways, leaving all the gubinge and seeds inside. Lay them out on a baking tray and put them in a low oven (about 75-80) and leave them until they are totally dry. This could be 2hrs, could be 4, it depends on the variety and the oven. But they want to be so dry they crackle when you pinch them. If they are at all flexible you’ll end up with chilli paste not powder.

And once they are properly dry this isn’t just for making powder or flakes, drying chillis is a fantastic way to store them for use over the winter. They do have a different taste dry to fresh though and so i tend to also put some undried, whole ones in the freezer to use as you would a fresh one.

At this point i normally separate out a few and put some into olive oil and get a ‘sundried tomato’ effect plus chilli oil and the the rest i grind up.


Okay on to the powder –

Next job is to stick them in one of my favorite kitchen gadgets. The Spice Grinder! If you haven’t got one, i recommend them. This is the one i have – HERE – There are lots of different types but i’ve had this same one twice. The first one lasted about 15 years then i replaced it with a different sort and it last lest than a year. So i hunted this one down. Anyway, put your crunchy dry chillies in here and whizz them up!

Simple as that!

I have used a pestle and mortar for this before, and it took forever! But it is totally possible.


How to store your Chilli Powder – 

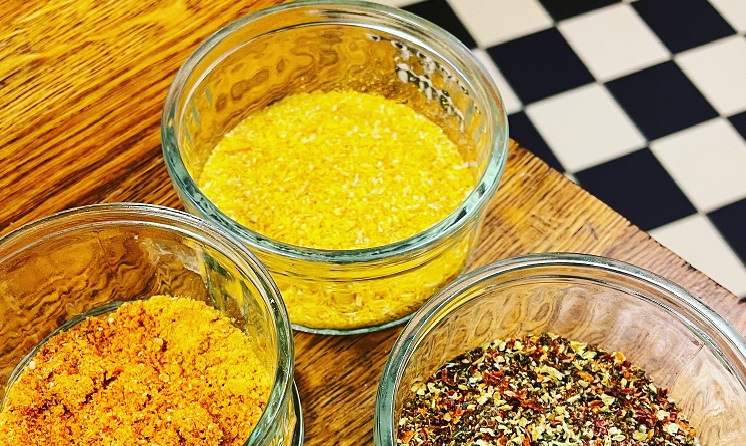
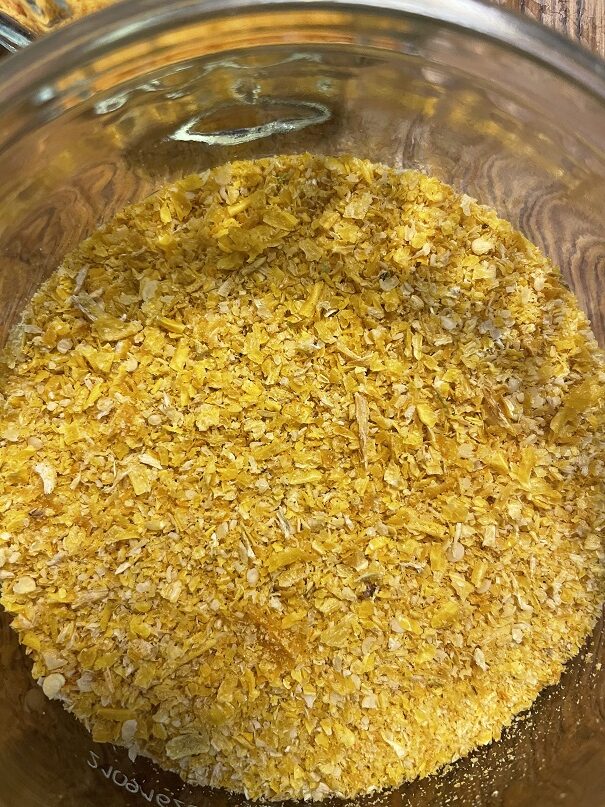
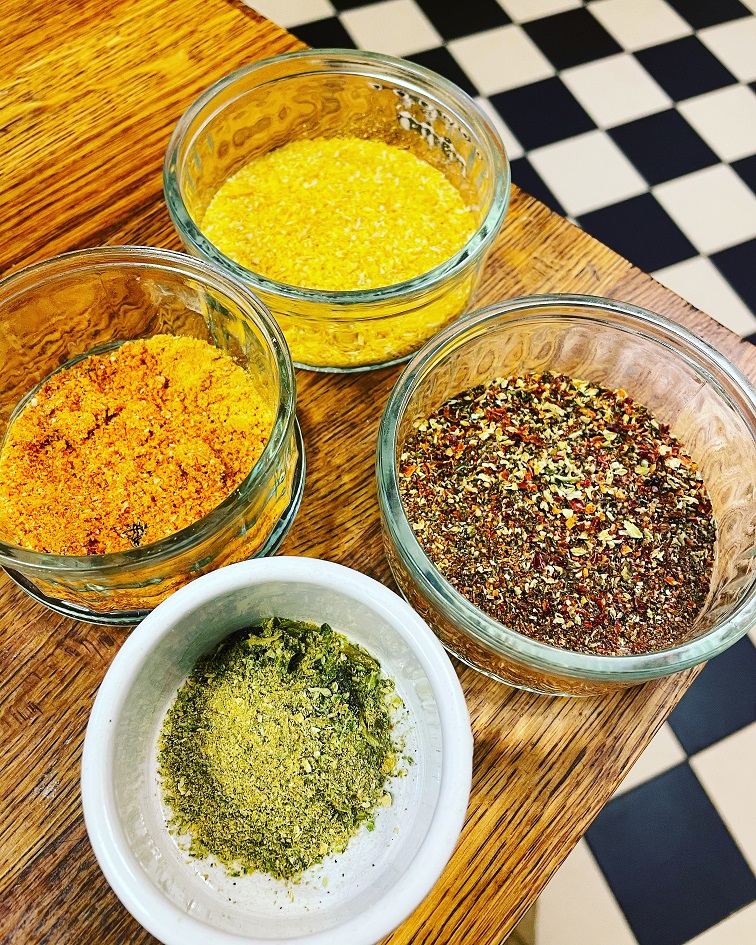
I like to grind all my varieties separately because they have such wildly different flavours. When you grind Lemon Drop, for example, it keeps the heat but develpopes this magnificent alsmost flourecent colour and you can really taste the citrus much more strongly than when fresh and there are some powders i make from chillies with almost no heat at all. Like the green jalapeno. Using that in cooking is like sprinkling the very essence of peppers into a meal. Heaven.

Chilli powder will keep for quite a long time if its stored in an air tight container and out of direct sun light. Although if the chillies were properly dry when it was made it shouldn’t ever really go ‘off’, it will loose its flavour like most herbs and spices. Id say it can be kept for up to 3 years without much loss of taste if stored well though!

Not much chance of it lasting 3 years in my house though….

Let me know if you have a go at this bellow in the comments! I would love to know which varieties you try and how they turn out!

Perfect Borlotti Bean stew with Tomatoes

Perfect Borlotti Bean stew with Tomatoes

BORLOTTI BEAN STEW with Tomatoes

THE BLURB:

Sometimes simple really is the best.

This recipe features in VLOG 30 at timestamp 22.13. Click here to view it VIEW

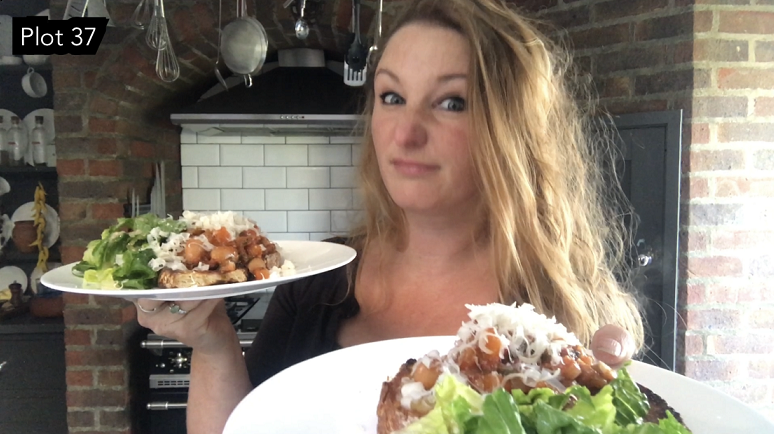
This is just about as simple as it gets but its an absolute gem. Its rich but tastes clean at the sma etime, do you know what i mean? I make this as an accompaniment rather than a dish in its own right to have with roasted pumpkin (so good) or meat. Its also excellent on toast!

INGREDIENTS


I’m a bit vague with the quantities here because it kind of depends, but as a rule you want about the same amount of Celery, Onion, Carrots and Borlotti beans.

  • A cup of Borlotti Beans (fresh or soaked over night if dried)
  • An Onion
  • Two Carrots
  • A stick of Celery
  • Streaky Bacon (optional)
  • Two cloves of Garlic
  • About 400ml of Tomatoes, tinned or fresh.
  • Same again of Chicken or Vegetable stock
  • A couple of Bay Leaves
  • A Green pepper/jalapeno
  • Some hotter chilli, either fresh or dried.
  • Chopped Parsley

METHOD


Firstly, if you’re using dried Borlotti they will need to be soaked. Just put the amount you’re going to use in a bowl and cover them with water for a minimum of 6hrs and up to 24hrs.

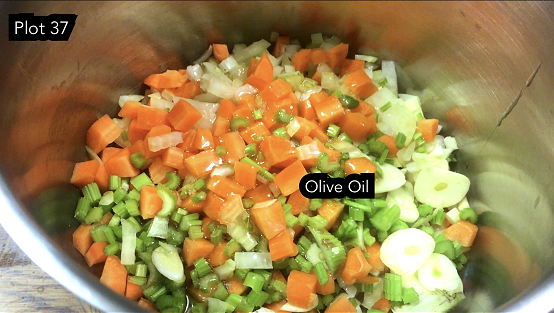
Dice the onion, celery and carrot to roughly equal size and put them in the pan with a generous glug of olive oil. Sweat them down. If you are using the bacon, dice that too and put it in just as the onions start to become transparent.

Keep the heat quite high so that a little bit of the onion catches. It all adds to the flavour!

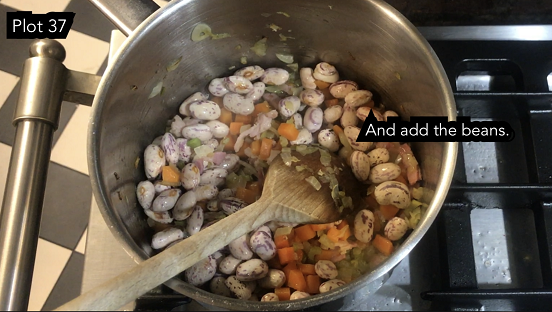
Then drain and throw in the beans. Followed by the sliced garlic, bay leaves, tomatoes and stock. Turn the heat down so its at a gentle simmer.

The length of time this takes to cook will depend on the beans. How old they are and how long they soaked for but around 1hr is about standard. Keep stirring occasionally and checking that there’s enough liquid. You want them to not be in a soup, more a thick sauce.

Whilst that is cooking, finely dice the green pepper/jalapeno/chili combination that you’ve decided to go with and the parsley.

When the beans are soft and the liquid is adequately reduced throw in the parsley/pepper combo and salt to taste. You want to only really salt at the end because it can hamper the softening of the beans if done too early.

And then that’s it really! Ready to eat.

They can be cooked in advance and just heated through and keep well for a couple of days in the fridge.

So yeah, dead simple and damn delicious!

Let me know below if you try this recipe. I can tell you that when this was featuerd on the vlog all but the bacon and the onion was home grown and yeah… just so good!!